|
|
|
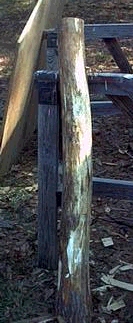
Once upon a time there was a pretty Willow tree growing
in
my back yard..... During the heavy ice storms of 2000 it was damaged
and as a result it died....So what to do with a dead tree??? Well...Make
a mountain dulcimer of course...Follow along on these pages as I try my
hand at instrument making.....
 First the tree was allowed to stand all summer
to cure in the ground.. I know...This also
allowed for a few bugs to dine on the wood
but that just adds character..... It was then
cut and peeled to get ready to saw into lumber.
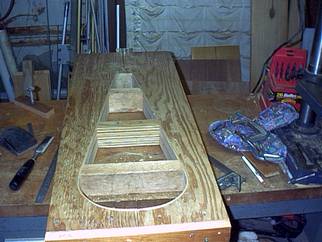
Now I do not have a saw mill and my small
band saw will not cut anything this size so I
decided to use the table saw.. By putting an
extension fence on the fence and taking slow,
small cuts I was able to produce some nice
lumber. I will say that if you want to try this
you will need a carbide tipped blade and probably
don't want to use a new one because you
will burn it.. :( Glad mine was a few months
old.....
 Now that I have a little wood it's time to
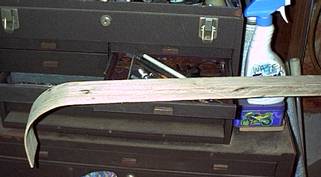 This
is a test bend done on a scrape piece of wood
This
is a test bend done on a scrape piece of wood
just to see how it works. Once bent in this manner,
it tends to remain with very little spring back.
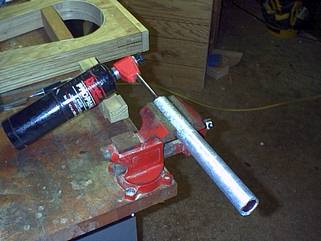
For those of you wondering, yes the box is
a Kennedy. I was a machinist in a former life.
The work bench is also a Kennedy. Good stuff
but a little on the expensive side these days.
:)
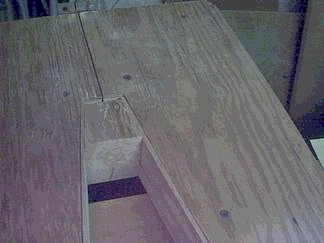 The next step is to cut and sand the head
 The next step is to carve and sand the
tail piece to fit. It can then be glued into place.
It
is made from a piece of oak also from the yard.
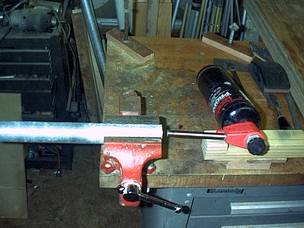
Note the 't-bolt' style clamp. A hold over from
my machinist days. If you use this kind of
clamp, be careful, they can generate a lot of
pressure.
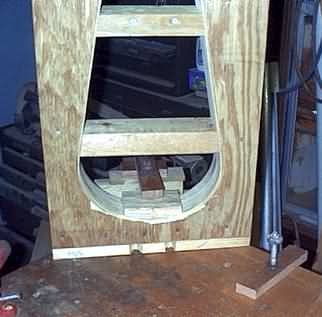
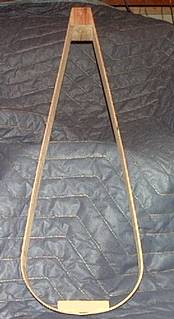
 After allowing the glue to dry, I've opened
the mold to take a look. Not too bad for the
first time I do belive. Click
here for a larger
picture.
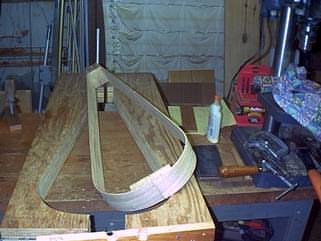
 After
a little sanding and some cleaning
After
a little sanding and some cleaning
it's looking pretty good..
Continue on to the next
page where I will be making
the top and bottom and
a kerf lining cutter.